Homemade Vanilla Ice Cream
Updated: Apr 23
There’s just something about homemade ice cream that feels like summer in a bowl. Simple ingredients, slow steps, and that rich, creamy texture you just can’t get from a carton.
This is my go-to vanilla ice cream base, made from scratch with egg yolks for that old-fashioned, custard-style richness. It’s simple, reliable, and works whether you have a machine, a Ninja Creami, or nothing but a freezer and a little patience.

Why You’ll Love This Recipe
Rich, creamy, old-fashioned flavor
Made with simple, real ingredients
Works with any method (machine, no-churn, or Ninja Creami)
Easy to customize with your favorite flavors
So much better than store-bought
Some of the links on this blog are affiliate links. This means that if you click on a link and make a purchase, I may earn a small commission at no cost to you. Your support helps me keep creating content and sharing recipes, tips, and ideas. Thank you!

Homemade Vanilla Ice Cream
Ingredients You’ll Need
2 cups heavy cream
1 cup milk
3/4 cup sugar (divided)
4 egg yolks
1 tbsp vanilla
Pinch of salt
Instructions
Start by warming the cream, milk, and half the sugar in a saucepan over medium heat. You’re looking for it to be hot and steaming, but not boiling.
While that heats, whisk the egg yolks with the remaining sugar until smooth and slightly pale. This step helps create that rich, silky texture.
Next, slowly pour the warm cream into the yolks while whisking constantly. This is called tempering, and it keeps the eggs from scrambling, so go slow!
Pour everything back into the saucepan and cook over low heat, stirring constantly, until the mixture thickens enough to coat the back of a spoon.
Remove from heat, stir in the vanilla and a pinch of salt, then transfer to the fridge to chill completely. A few hours works, but overnight gives the best texture.
Option 1: Ice Cream Maker
Pour your chilled base into the machine and churn for about 20–25 minutes. It’ll look like soft serve at this stage, but not quite firm yet.
Transfer to a container and freeze for a few hours to set.
Option 2: No-Churn Method
No machine? No problem.
Pour the base into a freezer-safe dish and place it in the freezer. After about an hour, give it a really good stir or whisk. Keep repeating every 30–45 minutes for a couple of hours to break up ice crystals.
It takes a little more effort, but the end result is still creamy and worth it.
Option 3: Ninja Creami
Pour the chilled base into your Creami pint (don’t go past the max fill line), then freeze it flat for 12–24 hours until completely solid.
Spin on the Ice Cream setting.
If it comes out crumbly, add a splash of milk (1–2 tbsp) and use the Re-spin function until it turns smooth and creamy.
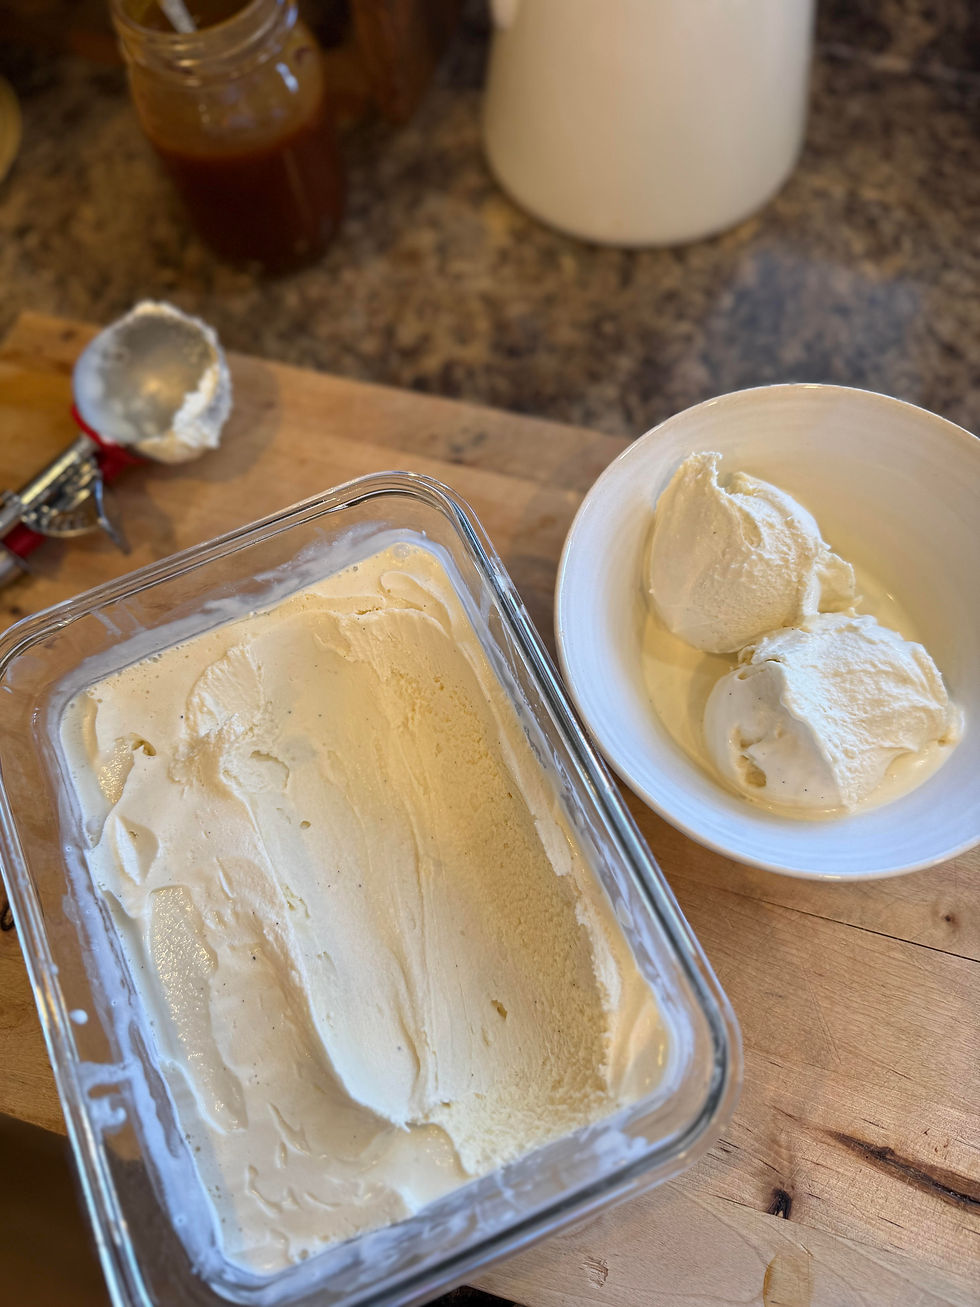
Notes
Real vanilla makes a difference here—use the good stuff if you can
Don’t skip chilling the base, it’s what gives you that creamy texture
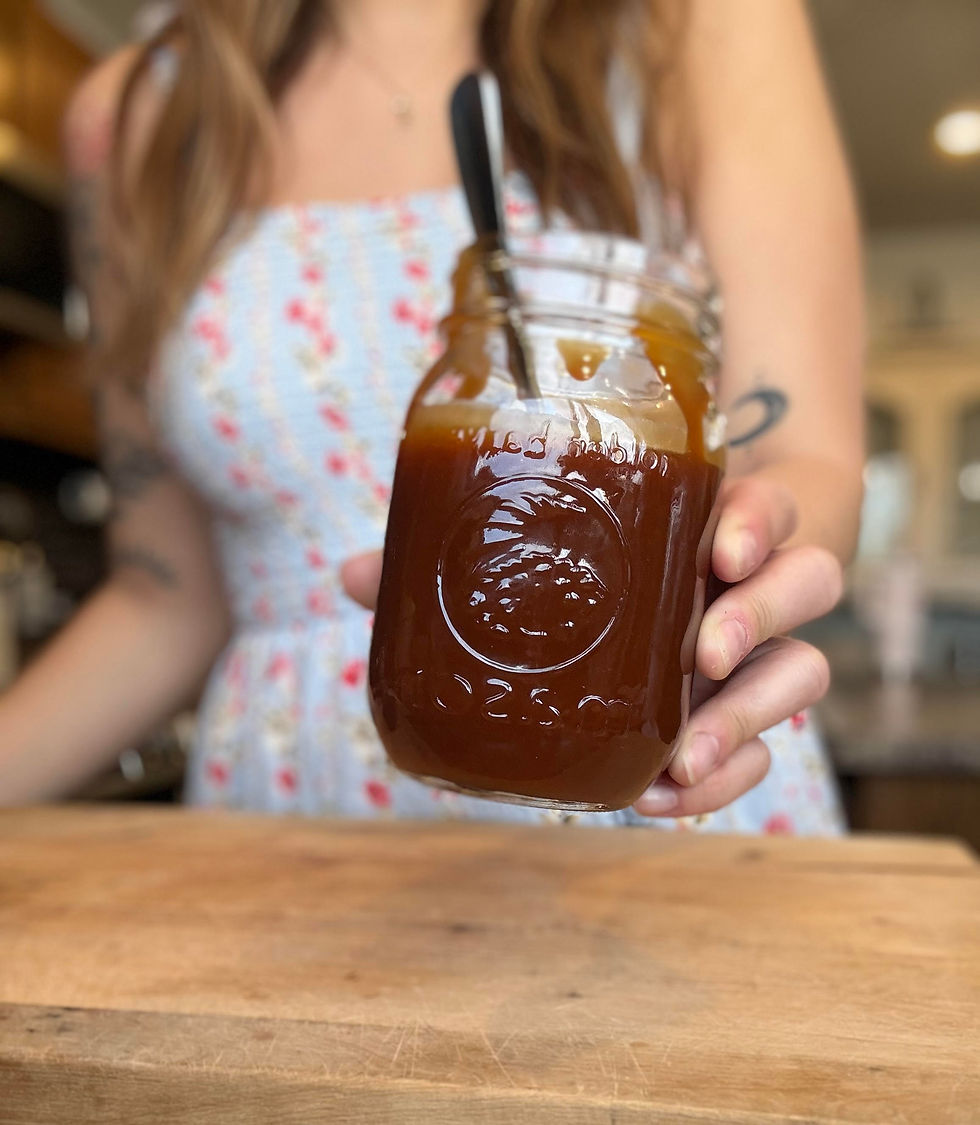
This is the perfect base for adding berries, chocolate, or even homemade caramel
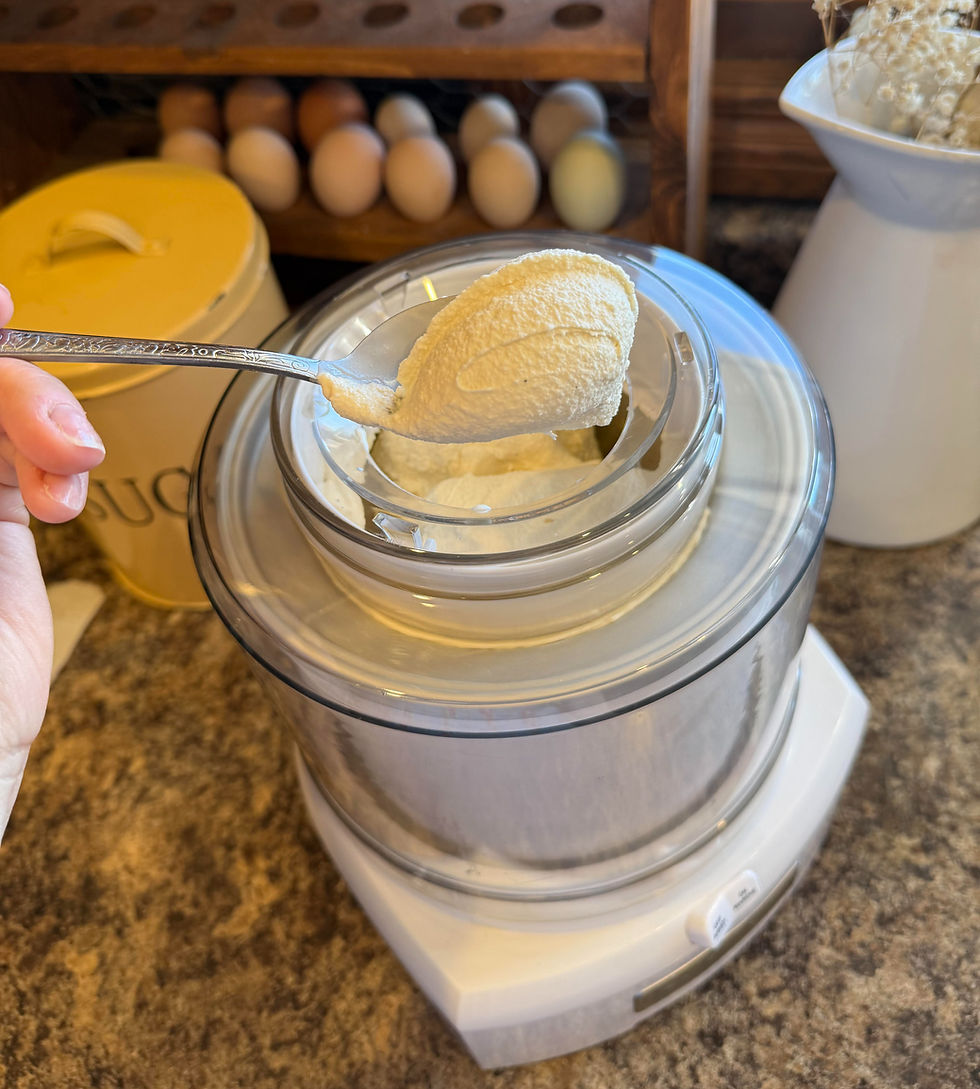
For convenience, I’ve linked the products I used below. Some of these links may be affiliate links, which means I may earn a small commission at no extra cost to you. I only share things I actually use and love.
The Recipe:
Did you try making this Homemade Vanilla Ice Cream? We’d love to see your creations! Tag us on Instagram at Thesproutinghomestead or leave a comment below to let us know how they turned out. Happy snacking!


I enjoy making homemade ice cream and decided to give your recipe a try. I must admit, when I took it out the fridge, it was still very runny and I was worried that it should have thickened up a bit. I put it in my cuisinart and let it whirl from 20-30 minutes and it came out creamy and so full of flavor! I was so surprised. This will be my new favorite vanilla ice cream. Thank you for sharing your recipe!